

Luminor Model #RQ-850
Replacement Sleeve
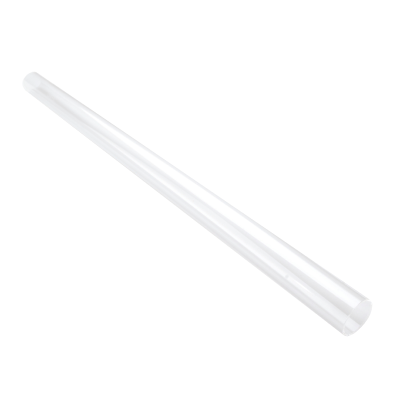
Luminor #RQ-850 Sleeve | List Price: US$ Our Price: US$72.62 You save: $18.16 Write a review. Found a Lower Price? Request a Price Beat |
Lowest Price Guaranteed!If you find a lower price on this product call us or Click here to request a price beat. |

Guaranteed Genuine Luminor RQ-850 Original Equipment Sleeve. Don't be Fooled by Knock-Offs!
- Description
- Specifications
- Related Products
- Installation / Manual
- Reviews
- FAQ
We are pleased to offer a complete selection of replacement quartz sleeves for all Luminor ultraviolet (UV) sterilizers.
Luminor Model #RQ-850 replacement sleeves are designed only for use in Luminor UV sterilizers. We do not recommend that you attempt to use Luminor replacement sleeves in models made by other manufacturers.
Luminor #RQ-850 is the sleeve for the following models:
- Luminor LB4-201/2
- Luminor LB5-201/2
- Luminor LB6-201/2
Luminor #RQ-850 Specifications
| Technical Specifications | |
|---|---|
| Part # | #RQ-850 |
| Material | Quartz Glass |
| Replace Sleeve | every 24 Months or as needed |
How to change a Luminor #RQ-850 Sleeve
Note: Do not touch the lamp or the quartz sleeve with your fingers. Handle by ends only or wear soft gloves.
- If a by-pass assembly is installed, shut the inlet valve off to prevent water flow through the system. Otherwise, turn off main water inlet valve (and/or turn off the water pump).
- Disconnect power cord of UV system from electrical outlet.
- Release water pressure by opening a downstream faucet and then close the outlet shut-off valve (if any). If there is no outlet shut-off valve, expect water to drain from the system as the head pressure in the system will cause the water to flow back down.
- Remove the captive ground screw from the ground lug on the UV reactor.
- Remove the lamp connector from the reactor (gland nut) by pushing the LUMI-loc connector in and turning it ¼ turn counter-clockwise. Disconnect the lamp connector from the lamp. CAUTION: the lamp may be hot!
- Being careful to touch only the ceramic ends, remove the lamp out of the reactor.
- Unscrew the gland nut from the reactor exposing the end of the quartz sleeve.
- Remove the quartz sleeve and o-ring by gently twisting and pulling the quartz sleeve.
- Insert the new quartz sleeve and o-ring
- Hand tighten the provided gland nut over the quartz sleeve onto the threaded end of the reactor. It has a positive stop to prevent over-tightening. A firm force may be required to fully tighten the gland nut, but DO NOT USE TOOLS for this step. Insert the provided stainless steel compression spring into the quartz sleeve. The spring works with the lamp and LUMI-Loc™ connector to create the proper lamp alignment. PLEASE NOTE: DO NOT install a UV lamp inside the quartz sleeve without the sleeve spring in place.
- Insert the UV lamp into the reactor, being careful not to drop it.
- Install the lamp key into the controller. With the key removed from the lamp, orient it so the label is upright and facing you. The key will plug into the lamp key port on the right side of the controller.
- Plug the LUMI-Loc™ lamp connector into the lamp. Note the keying for proper alignment.
- Insert the lamp connector into the gland nut and turn the connector approximately ¼ turn to lock the connector to the gland nut.
- Tighten the captive ground screw to the ground lug on the UV reactor to ensure proper grounding.
- Plug in the UV system and wait until it is ready for operation.
- Remove the filter cartridge from the last sump and fill it with 1-2 cups of household bleach (most are 5.25% chlorine). Replace the sump and slowly turn on the water supply.
- At a water outlet, run the water until bleach can be smelled. Repeat this for all faucets, toilets, shower heads, refrigerators, outdoor taps, the washing machine, dishwasher, etc. at the home or facility. Once finished, wait a minimum of 30 minutes before continuing.
- Reinstall the filter cartridge into the sump and flush the chlorine solution by opening all faucets until chlorine can no longer be detected. Your home has now been completely disinfected with your BLACKCOMB UV system ready to inactivate any microorganisms that enter the home.
Luminor #RQ-850 Sleeve Reviews
There are currently no reviews for this product.
Be the first to write a review.